December 14, 2020
Home Brow lamination kits - How do they work ?

By now you will have heard of Laminated brows or the ‘Brushed-up’ brow trend, (If not, head over to ‘Should I get my brows Laminated ’) but in short, Brow Lamination is a popular chemical based treatment that is carried out on the brows to restructure the hairs getting them to sit in a sleek, tamed shape. Gone are the days of unruly brows which grow in each and every direction!This brow trend has been huge this year and has been loved by many famous faces. So far the process has primarily been one that you’d have in a beauty salon or brow bar but not anymore.
There’s a new ‘kit’ on the block…EyebrowQueens Home Lamination Kit – The Pro Lift Up . Here we share the NEW home lamination kit and how it all works.
The New ‘Kit’ on the Block

EyebrowQueen have just launched their incredible NEW home Lamination kit – The Pro Lift Up Kit meaning you no longer have to visit a beauty salon to achieve the laminated look. With the Pro Lift Up kit, you can create lasting fluffy, brushed up eyebrows at home. The gentle lamination system lifts and separates stubborn and downward growing eyebrow hairs into a new more desirable position.
Lasting from 4-12 weeks depending how quickly the brow hairs grow, the lamination formula breaks down the bonds in the hairs, allowing the hairs to be repositioned. It’s great for straightening out curly hairs, making even the most stubborn hairs sit a lot neater as well as making them appear fluffier and softer so you can get that ‘brushed-up look.


Is Brow Lamination for me?

Almost anyone can have their brows laminated however the treatment is better suited to those with thicker brows and those who tend to have unruly hairs which grow in different directions. If you are a beginner or first timer, we’d recommend having them laminated in the salon initially.
We’d also recommend that those with weak, fine or damaged brow hairs or those with sensitive skin avoid lamination as the chemicals may be too harsh for their hair/skin. The kit is suited to those who have had brow lamination previously but who’s lifestyle means they are not able to visit a salon, those who don’t have the time and those who just love this eyebrow trend and fancy giving it a go!
What’s in the Pro Lift Up Kit?
So you want to know what’s in the kit? You will be thrilled to know that the Pro Lift Up Kit contains enough product to do 5 treatments!!
Each kit contains
- 5 Lamination solution sets (Cream 1 and 2)
- 5 spoolie brushes
- 5 microbrush applicators
- 5 mixing disks
The Pro Lift Up Kit solutions explained…
1. Pro Lift Up Step 1 Cream
This is a perming solution which is applied to break down the bonds in the hair structure allowing them to be reworked into a new position.
2. Pro Lift Up Step 2 Cream
This is a neutralising solution which is applied to fix the bonds into their new structure.
3. Pro Lift Essence
A conditioner which is applied at the end of the treatment to moisturise the hairs.
How To use the Pro Lift Up kit

Before using the kit it is really important to carry out a patch test 48 hours prior to treatment to ensure you are not allergic to any of the ingredients. Apply a small amount of both the solutions using a cotton bud behind your ears, leaving for at least an hour (ideally overnight). It’s advised that a patch test is carried out before each lamination treatment as allergies can occur at any time, even if you have used the product before.
5 Easy steps to gorgeous laminated brows
The kit is designed to make laminating your eyebrows at home really quick and easy. Here are the 5 steps to creating instantly lifted and tamed brows.
1
Apply a very small amount of Pro Lift Up Step 1 cream onto clean eyebrows using a micro-brush. Leave for 3-4 minutes. (stubborn hairs may require longer – no more than 5 mins)
2
Remove product with a cotton bud in an upward motion and brush hairs up.
3
Apply a small amount of Pro Lift Up Step 2 cream onto eyebrows using a micro-brush and immediately brush hairs into desired position using the spooly brush. Leave for 3-5 minutes
4
Remove product with a dry cotton pad in an upwards motion ensuring all product is removed
5
Brush Pro Lift Essence onto brows to nourish and condition the hairs.
Nilam’s 10 Top Tips for Laminating your brows at home
Nilam shares her top tips with us on how to get the most from the kit and how to achieve the most beautiful, fluffy brows at home.
1. During step 3 do not over brush the hairs. In a similar way to damaging your hair when you comb it when it’s wet after washing, combing your brow hairs too much at this stage can cause the hairs to break so make sure you brush them up into place carefully and then leave them for the desired time.
2. I’d recommend only using a small amount of product on the brows; just enough to cover the hairs. (Step 1)
3. When removing step 2, I use a dry cotton pad in an upwards motion encouraging the hairs to sit upright.
4. I can’t stress how important it is to use a Timer. Over processing your brows will result in irreversible damage and even breakage. Set the timer! (3 minutes for weak hairs, 4 minutes for average hairs and 5 minutes for strong coarse hairs)
5. When the timer is on, It’s really important that you keep an eye on the hairs. Sit and watch them, checking for signs of frazzling (where the hairs become curly). Remove the solution immediately if you see signs of breakage.
6. For stubborn hairs I use the NEW EyebrowQueen Lamination brow brush. It’s a fine toothed metal comb with a plastic ridge allowing you to lift and separate even the most tiny, fine and fluffy hairs. I use the plastic guard to press any stubborn hairs onto the skin to give them an extra helping hand to stay upright during step 3.
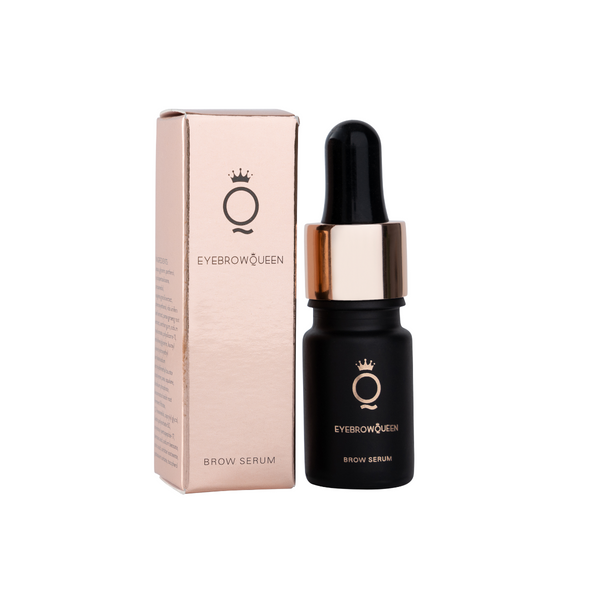
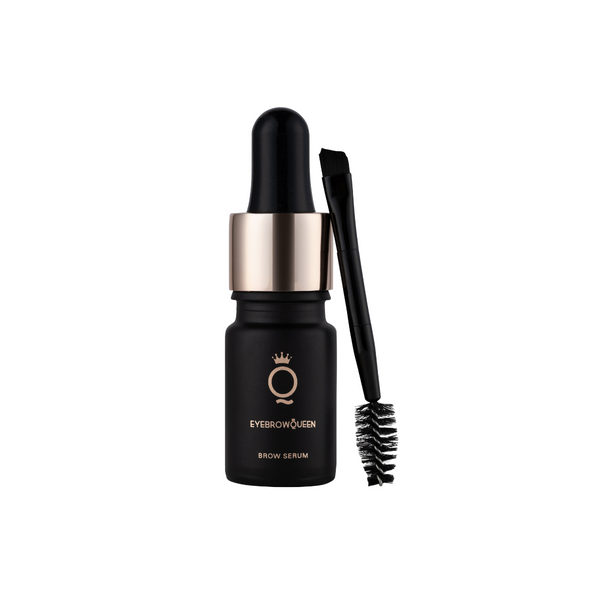
7. Nourish the brows after the treatment as they will be drier and more porous so twice daily apply the conditioning serum and/or EyebrowQueens Brow Serum.
8. After Lamination, the hairs are softer and can therefore look a little unruly in the mornings so I’d advise gently brushing the hairs upwards into place each day to keep them looking their best.
9. To ensure your brows stay in tip top condition, I would advise leaving it at least 4 weeks between lamination treatments so not to cause damage to the hairs.
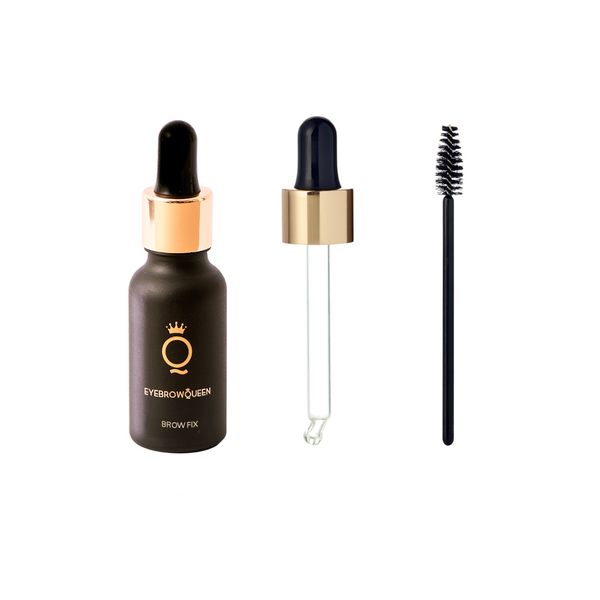
10. If you aren’t able to use the Pro Lift Up Kit but love the laminated look, I’d recommend trying the Brow Fix instead as this will fix the brows in place for 24 hours and allows you to achieve a very similar ‘brushed-up’ look. (Check it out on our blog here – How to achieve the brushed up brow trend without lamination